node.js
node.js
简介
node.js是一个跨平台javascript运行环境,开发者可以搭建服务器端的javascript应用程序;node.js还可以进行前端工程化,对前端代码进行压缩、转译和整合,提高前端开发和运行效率。
所谓的前端工程化是指开发项目到上线,整个过程中集成的所有工具和技术,比如格式化工具、压缩工具、转换工具以及后续框架中用到的脚手架工具等。而node.js是前端工程化的基础(因为node.js可以主动读取前端代码内容)
浏览器之所以能够执行js代码,依靠的是内核中的V8引擎,而node.js是基于Chrome V8引擎进行封装的。但是注意node.js环境中没有DOM和BOM等对象
安装
直接从官网中选择需要的版本进行下载,下载本地之后按照正常软件安装步骤进行安装即可,最后记得添加环境变量,具体的安装教程可参考csdn或其他博客。
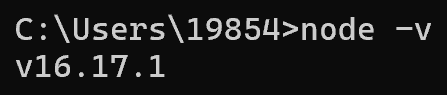
最后在cmd中执行node -v可以验证是否成功安装
快速体验
在node环境下执行js代码,通过node xxx.js即可
编写简易js代码,在node环境下执行
1 | for (let i = 1; i <= 10; i++) { |

nodejs常用模块
fs模块
fs模块用于读写文件,封装了与本机文件系统进行交互的方法和属性
语法
加载
fs模块1
const fs = require("fs") //fs是模块标识符(模块的名字)
写入文件内容
1
2
3
4fs.writeFile("文件路径","写入的内容",err=>{
//写入后的回调函数
//如果写入过程中出现了错误,err参数会有具体的值
})读取文件内容
1
2
3
4fs.readFile("文件路径",(err,data)=>{
//读取后的回调函数
//data是文件内容的Buffer数据流,err是异常信息
})
实例
1 | const fs = require("fs") |

Path模块
node.js中的Path模块主要用于路径处理
比如在node.js代码中,相对路径是根据终端所在路径去查找的,可能无法找到你想要的文件,而在代码中编写的相对路径通常是依据当前js文件所在的路径去查找的,所以在编写时尽量实用绝对路径,可以通过__dirname这个内置变量,获取当前js文件所在目录的绝对路径。
path.join()会使用特定于平台的分隔符作为定界符,将所有给定的路径片段连接在一起
1 | const path = require("path") |
http模块
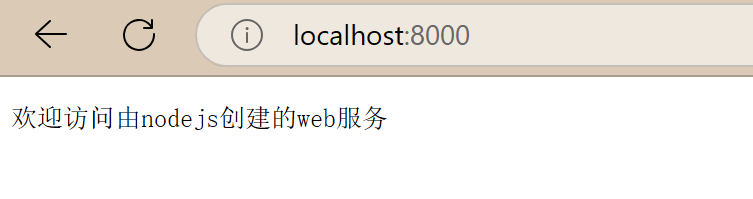
nodejs的http模块可以用于创建web服务,并响应内容给浏览器
http模块创建web服务的步骤:
- 加载
http模块,创建web服务对象 - 监听
request请求事件,设置响应头和响应体 - 配置端口号,启动服务
1 | //引入http模块 |
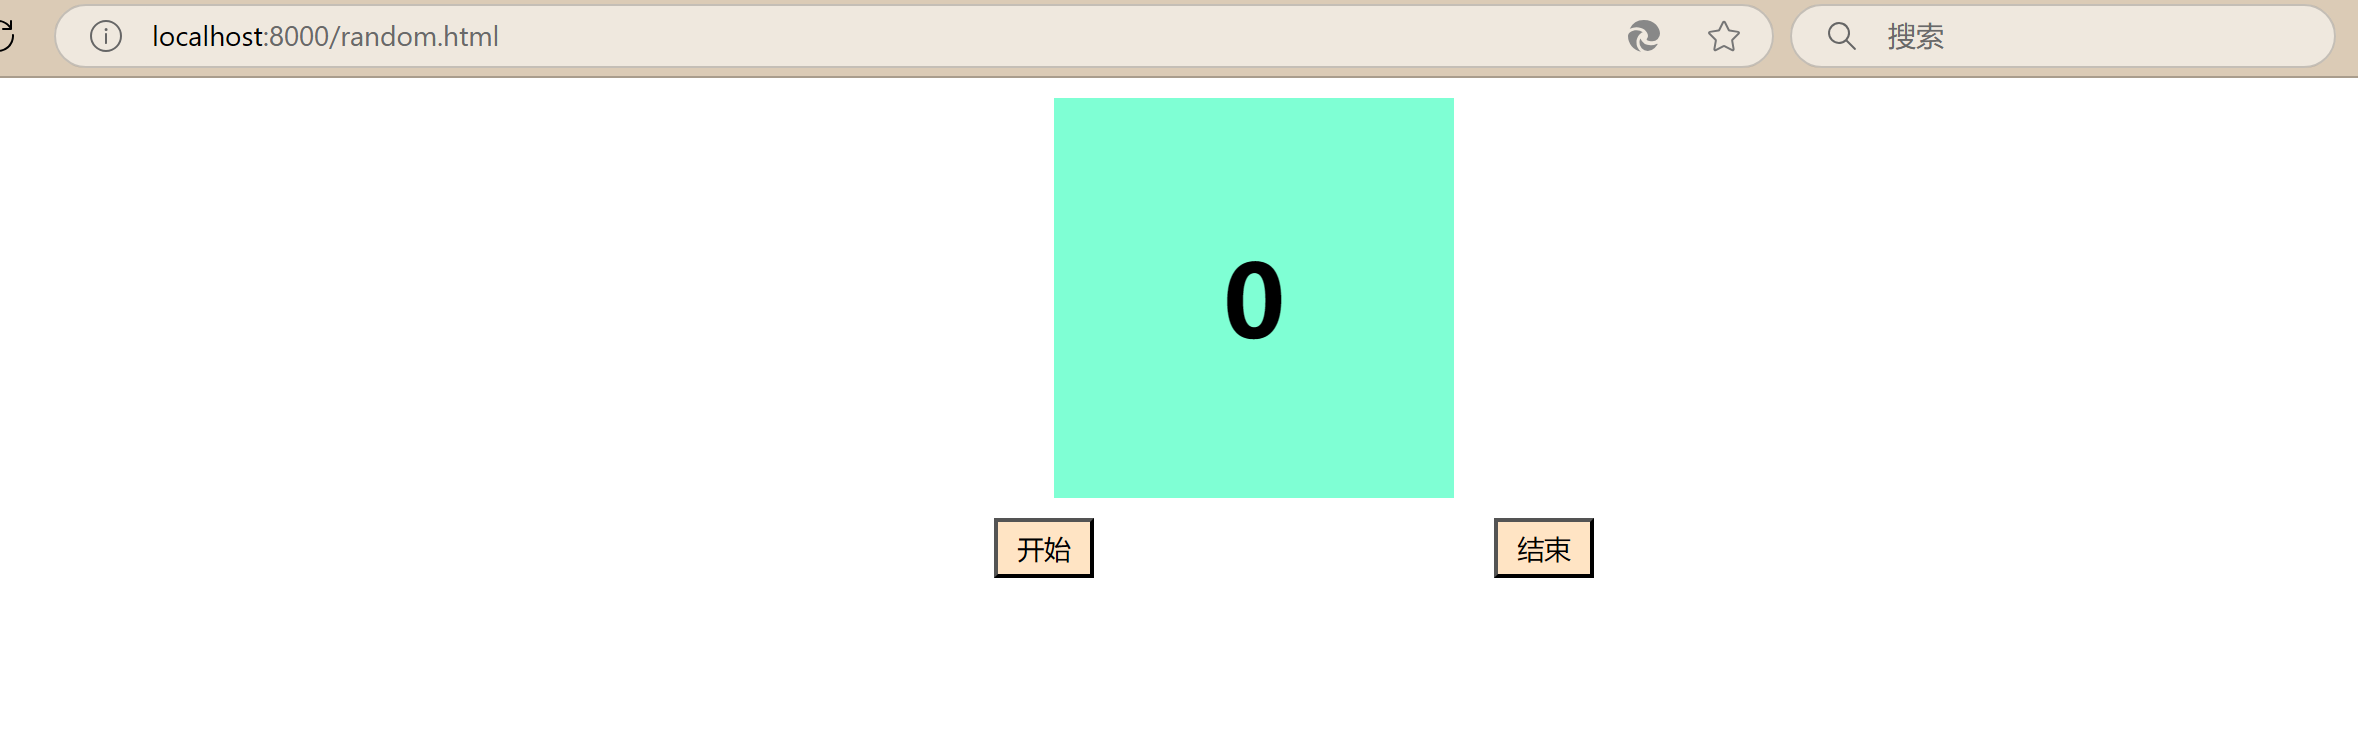
案例—基于web服务,开发提供网页资源功能
浏览器请求资源网页,后端响应指定网页内容,包括html标签、css样式和js等字符串
1 | //引入模块 |
dst/random.html的内容
1 |
|
访问http://localhost:8000/random.html即可看到如下内容
nodejs模块化
在node.js中,每个文件都被视为一个单独的模块,一个项目是由多个模块文件组成的
模块化的好处:提高代码的复用性、按需加载、独立作用域
commonJS标准—导入和导出
如何自定义模块供其他模块使用:
需要按照标准语法(CommonJS标准)导出和导入进行使用
导出语法
1
2
3
4
5module.exports={
对外属性名1:xxx,
对外属性名2:xxx,
......
}倒入语法
1
2
3require("模块名或者路径")
//如果是nodejs内置模块,直接写名字,比如fs、path、http等
//如果是自定义模块,则写模块文件路径
示例
在dst目录下创建一个utils.js文件
1 | const url = "https://www.today.com" |
在另一个文件里去导入utils.js模块
1 | const utils = require("./dst/utils.js") |
ECMAScript标准—默认导出和导入
该标准的默认语法:
导出语法
1
2
3
4
5export default{
对外属性名1:xxx,
对外属性名2:xxx,
......
}导入语法
1
import 变量名 from "模块名或者路径"
注意:
nodejs默认支持commonjs语法,如果需要使用ECMAScript标准语法,则需要在运行模块所在文件夹新建package.json文件,并设置{"type":"module"}
示例:
utils.js文件
1 | const url = "https://www.today.com" |
demo01.js文件
1 | import utils from "./dst/utils.js" |
package.json文件
1 | { |
ECMAScript标准—命名导出和导入
命名标准使用:
- 导出:
export修饰定义语句 - 导入:
import {同名变量} from 模块名或路径
如何选择默认导入和导出以及命名导入和导出?
- 按需加载,使用命名导入和导出
- 全部加载,使用默认导入和导出
示例:
utils.js文件
1 | export const url = "https://www.today.com" |
demo01.js文件
1 | import { url, add } from "./dst/utils.js" |
总结
- CommonJS标准:一般应用在
Node.js项目环境中 - ECMAScript标准:一般应用在前端工程化项目中
包的概念
包:将模块、代码以及其他资料聚合成一个文件夹
包的分类:
- 项目包:主要用于编写项目及其业务逻辑
- 软件包:封装工具和方法进行使用
包的要求:在根目录下,必须有package.json文件(包的说明清单文件)
package.json常见的内容:
1 | { |
注意:导入软件包时,引入的默认时index.js模块文件/main属性指定的模块文件,该文件是包的唯一出口;该文件的作用是将所有其他模块的方法集中起来,统一向外暴露
示例
项目目录如下:
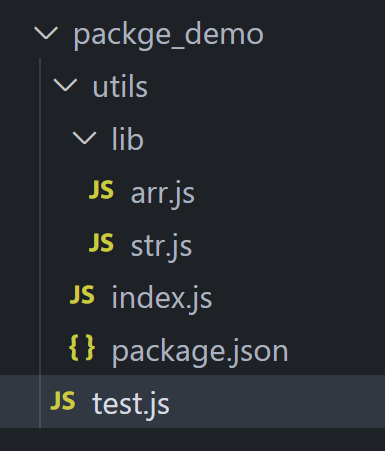
./lib/arr.js文件
1 | const add = function (arr) { |
./lib/str.js文件
1 | const len = (str) => { |
index.js文件
1 | const { add } = require("./lib/arr.js") |
test.js文件
1 | const utils = require("./utils") |
npm
npm — 软件包管理器
npm是node.js标准的软件包管理器,安装node.js只会,npm工具也会一同被安装,它能够下载和管理node.js包依赖
如何使用npm来下载和管理包依赖:
初始化清单文件
1
2
3npm init -y
//该命令会自动生成package.json文件,如果当前项目存在该文件,则略过此命令
//package.json里面除了记录前面介绍的那些内容外,还会记录当前项目下载了哪些包下载软件包
1
npm i 软件包名称 #下载对应的软件包
使用软件包
- 在项目需要的地方导入和使用相关的软件包及其模块
示例:
新建文件夹npm_demo,在该文件夹下执行npm init -y,会生成package.json文件
1 | { |
下载第三方依赖dayjs,执行npm i dayjs
package.json文件中会记录当前项目下载的依赖包的名称和版本
1 | { |
对应第三方包会下载在该项目下的node_modules文件夹下
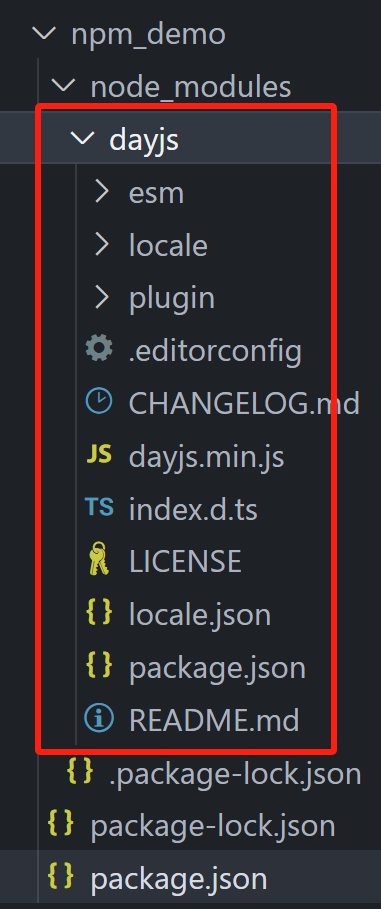
在当前项目中导入第三方包,使用相关工具模块
1 | const dayjs = require("dayjs") |
npm—安装所有的依赖
场景:从第三方得到的项目文件,里面有package.json文件,但是没有存储第三方依赖包的node_modules文件夹(这是因为用npm下载依赖比用磁盘传递拷贝要快得多),为了能够让项目成功运行起来,需要安装项目涉及到的所有第三方依赖
此时需要执行npm i命令,其会下载package.json中记录的所有软件包
npm—全局软件包nodemon
- 本地软件包:当前项目内使用,封装了一些属性和方法,存在于项目目录下的
node_modules文件夹 - 全局软件包:本机所有项目均可使用,封装了一些命令和工具,存在于系统设置的位置
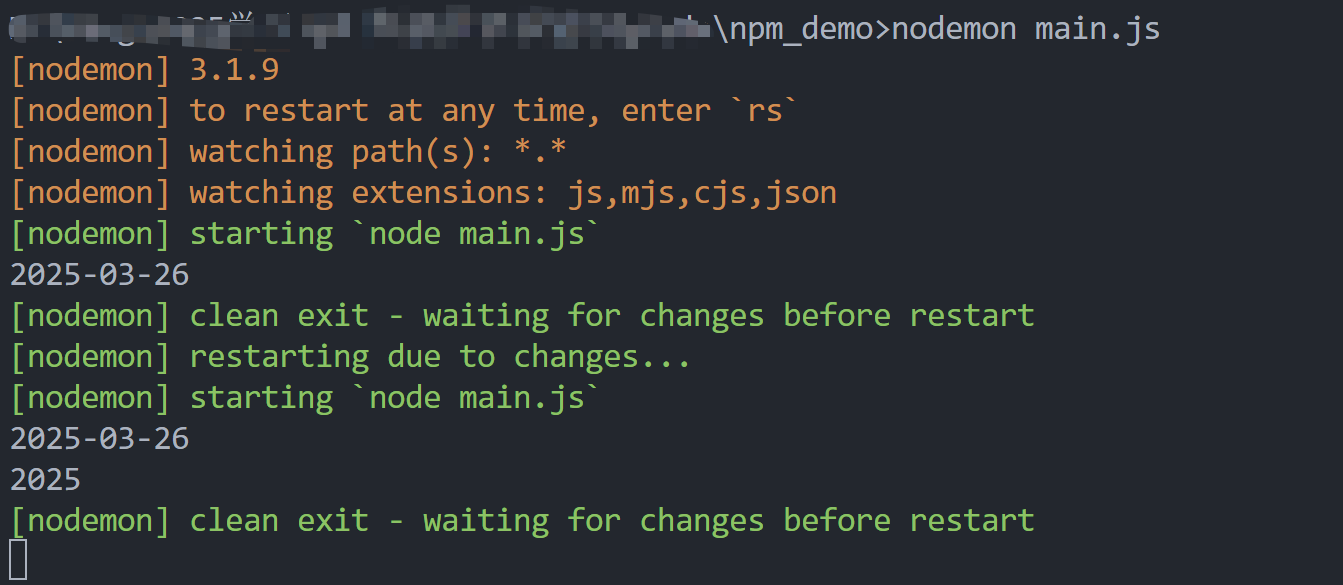
nodemon的作用:替代node命令,检测代码更改,自动重启程序
nodemon的使用:
- 安装:
npm i nodemon -g,-g代表安装到全局环境 - 运行:
nodemon xxx.js来执行目标js文件
其能感知代码文件变化,自动重启程序
删除软件包
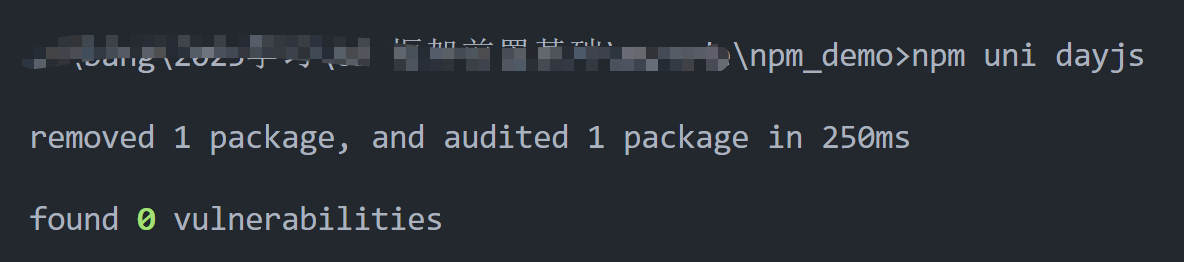
npm uni 软件包名称
执行该命令后,会从node_modules中删除对应包依赖,并且会从package.json和package-lock.json这两个文件中删除相应的记录
 微信
微信 支付宝
支付宝